Setup guide
Build a portable climbing setup that fits your week.
Start with the tool that matches your goal, add the small essentials that keep a session organized, and choose a routine you can actually repeat.
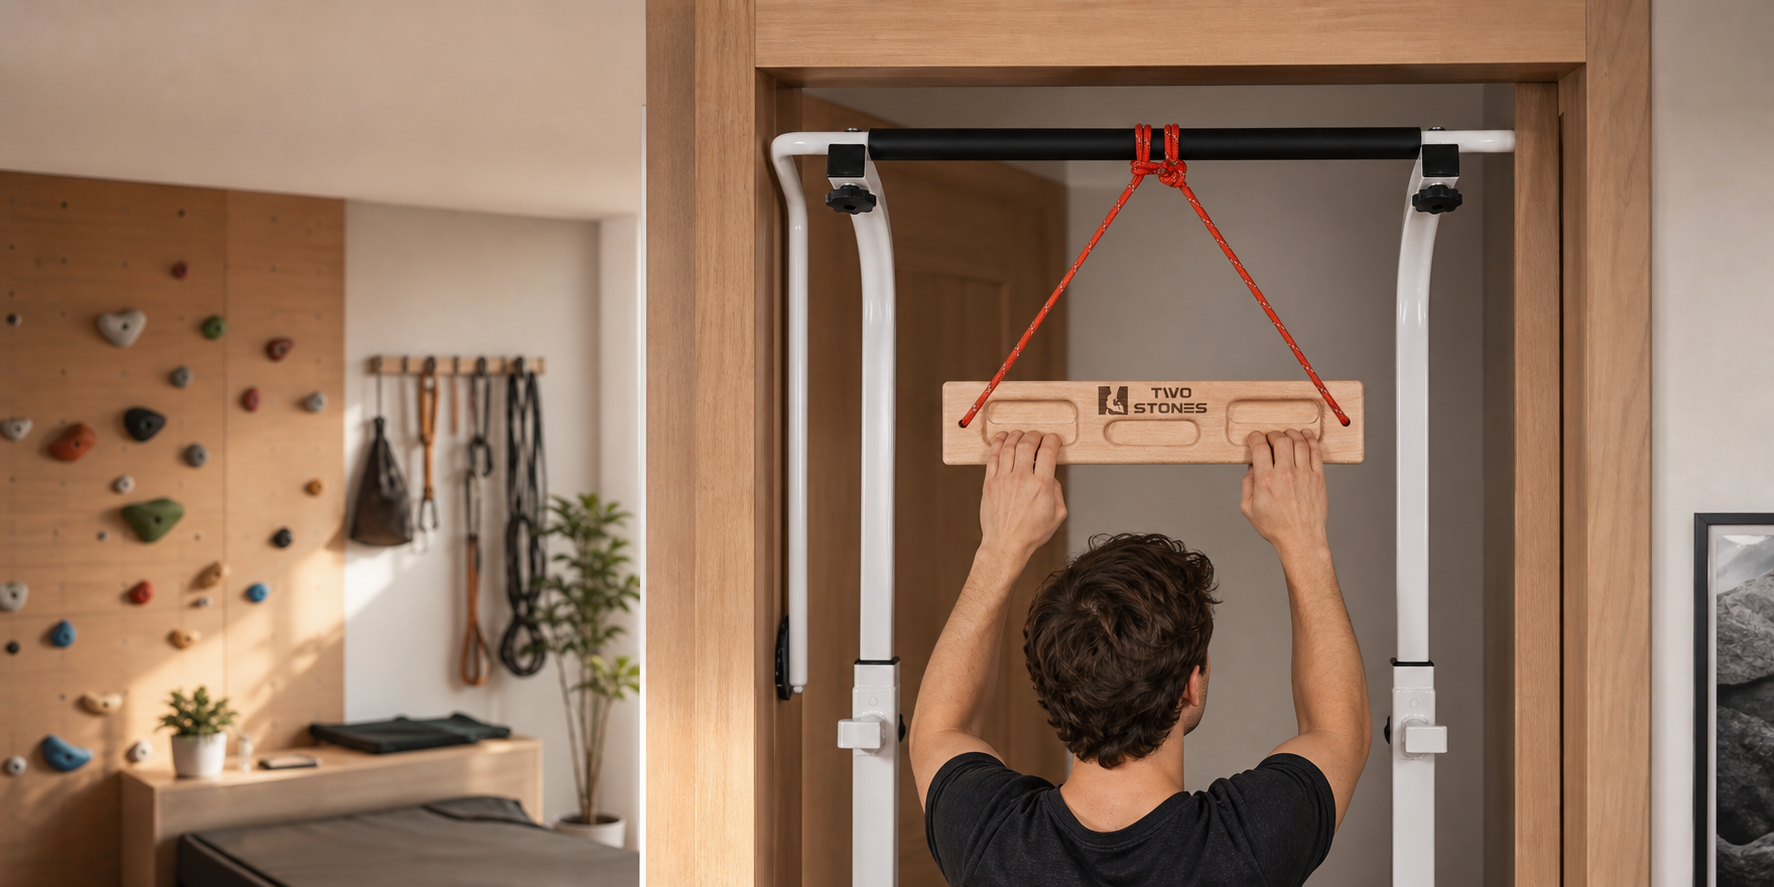
1. Pick your focus
Choose the training job before you choose the gear.
A clear setup starts with the kind of climbing session you want to make easier this week.
01
Warm up before climbing
Choose a portable board with friendly holds for short, controlled prep before your session.
02
Train at home
Use a compact hangboard when you want repeatable finger practice without a permanent wall.
03
Target contact strength
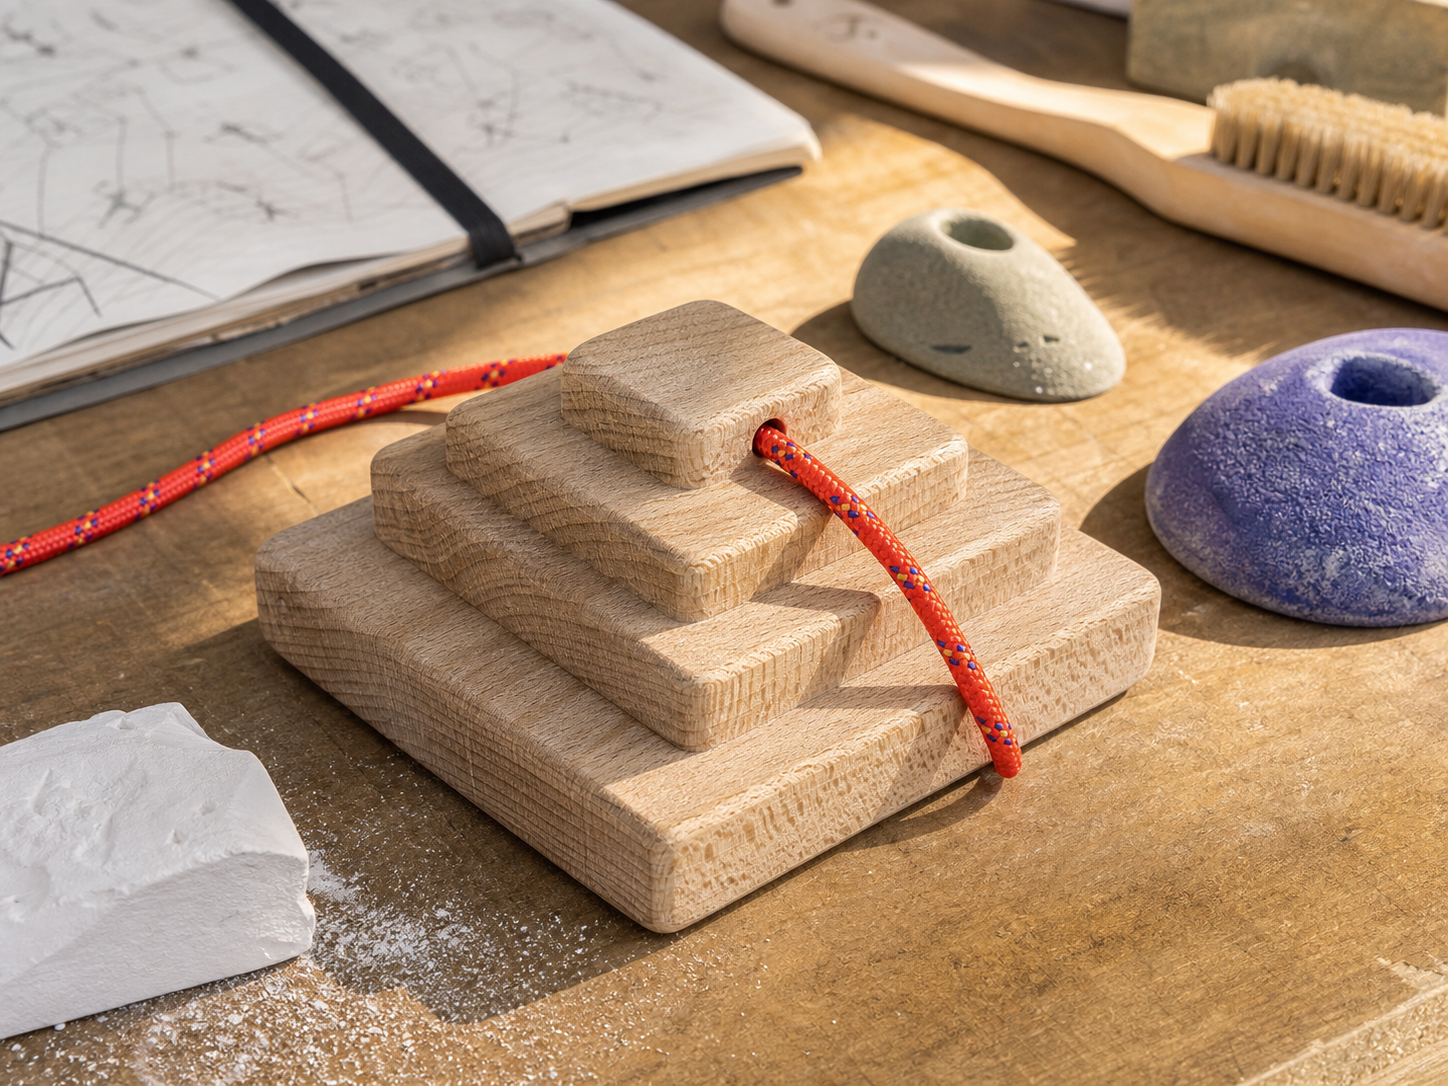
Add a pinch-focused tool when thumb pressure and hand position are the training priority.
2. Choose a board
Start with the portable tool you will use most.
Compare the core portable hangboards, then select the hold style that makes the first sessions feel approachable.
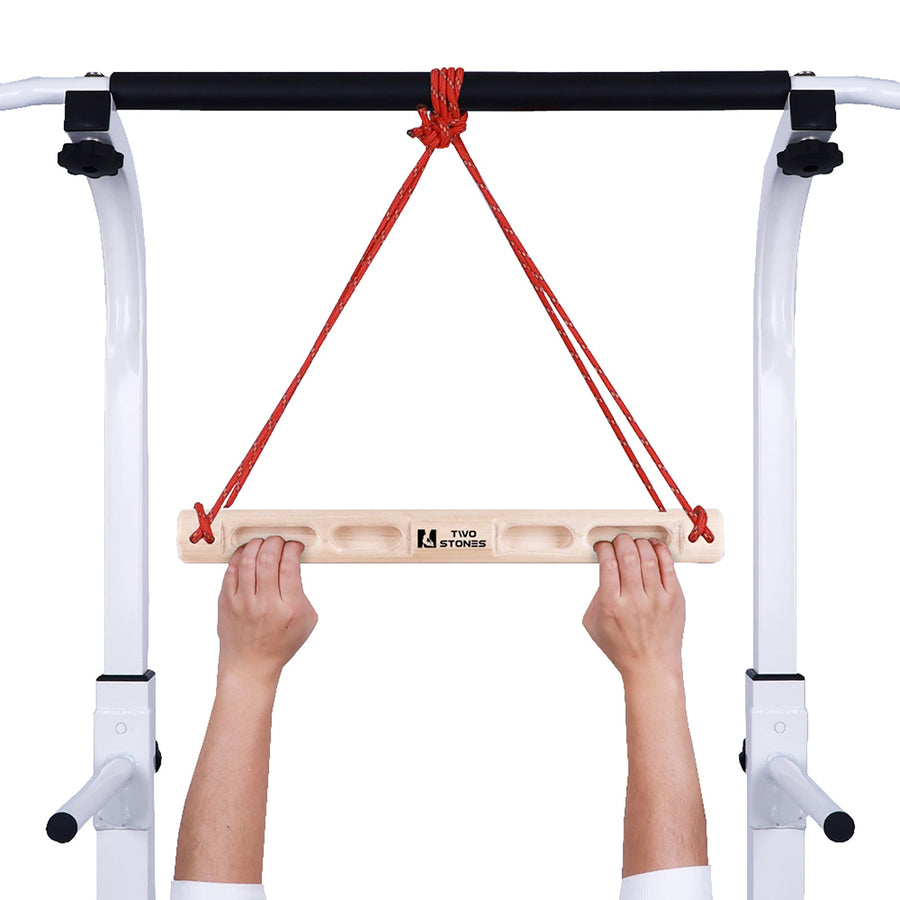
TWO STONES Portable Fingerboard as Rock Climbing Training Boards with Edges and Pockets, Portable Climbing Hangboard as Rock Climbing Finger Strengthener Training Indoor and Outdoor (CJ-HB2026)
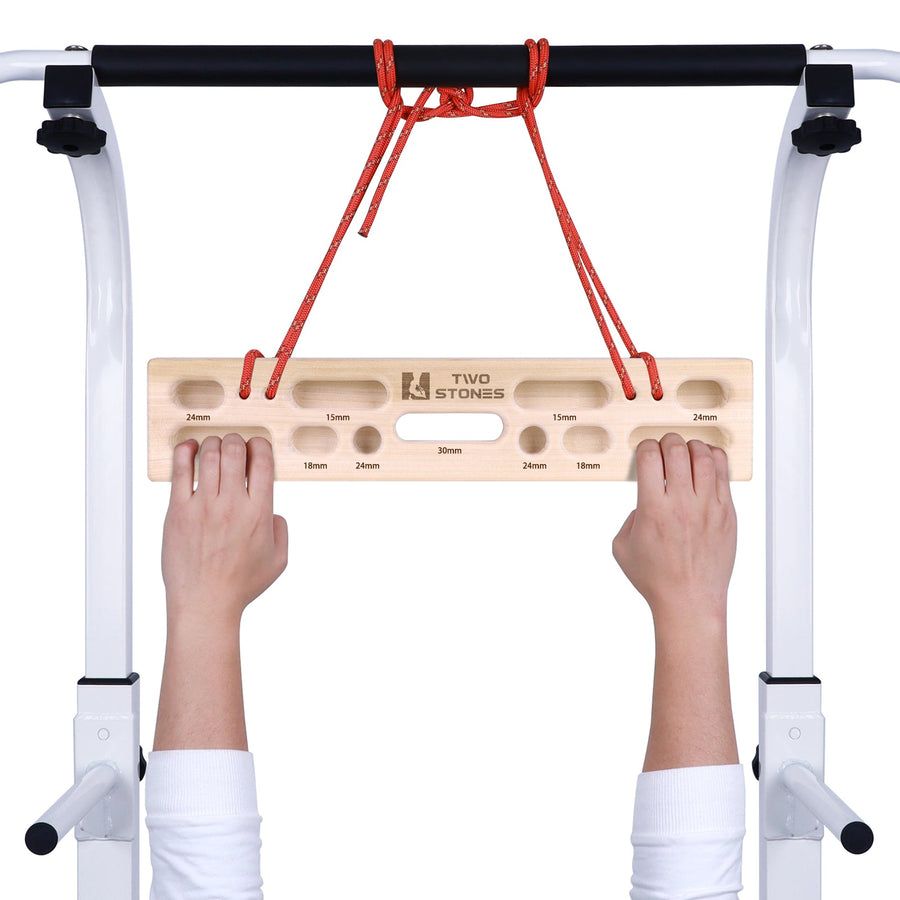
Portable Hangboard Rock Climbing | Climbing Hangboard as Hang Boards for Climbing Training
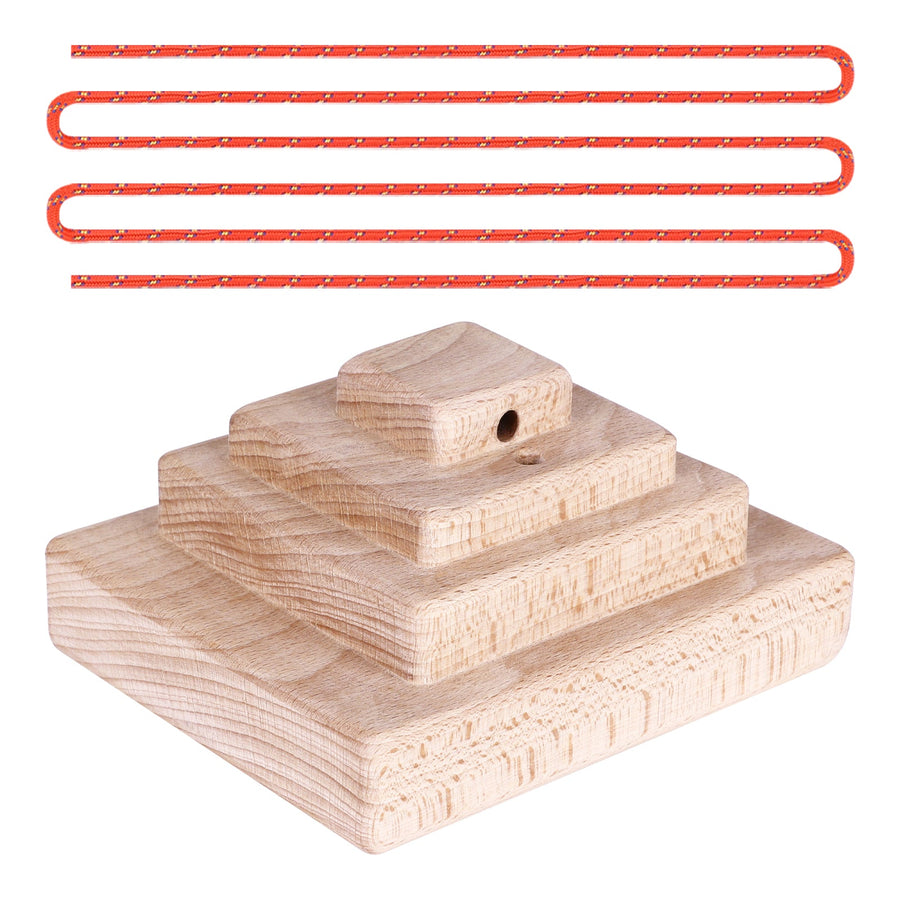
Climbing Pinch Block | Climbing Pinch Blocks | Wooden Climbing Holds as Gifts for Rock Climbers with Edges and Pockets
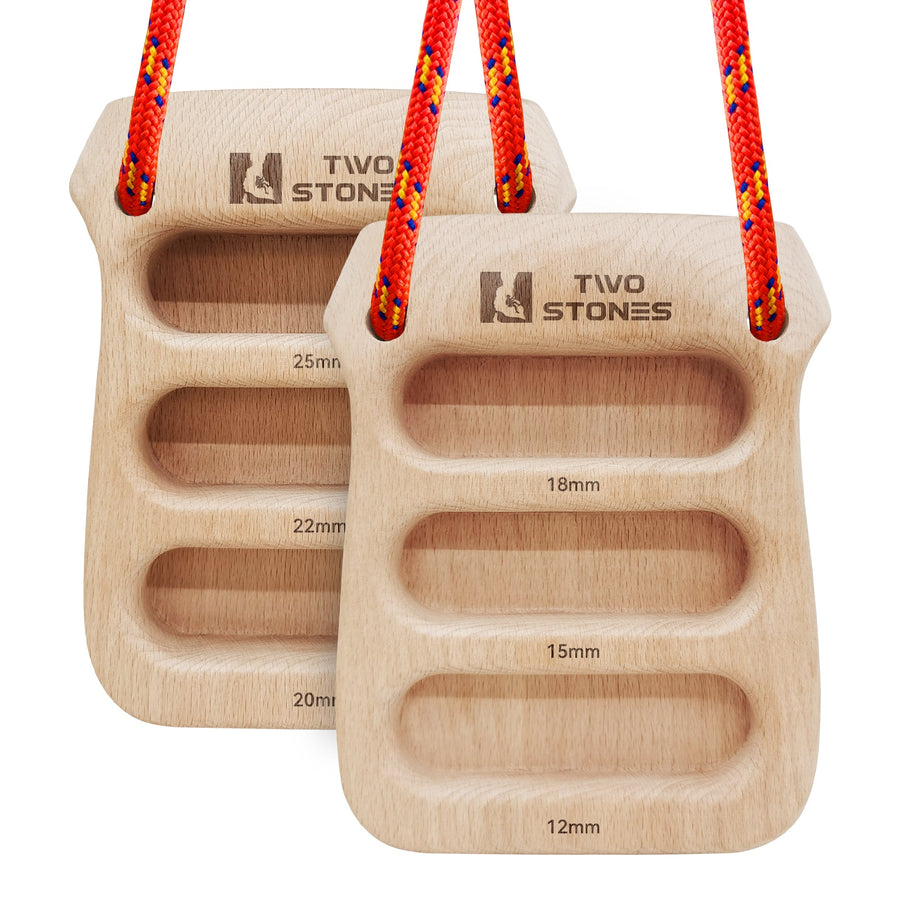
TWO STONES Best Rock Climbing Hangboard | Portable Hangboards | Wooden Hanging Board as Gifts for Rock Climbers
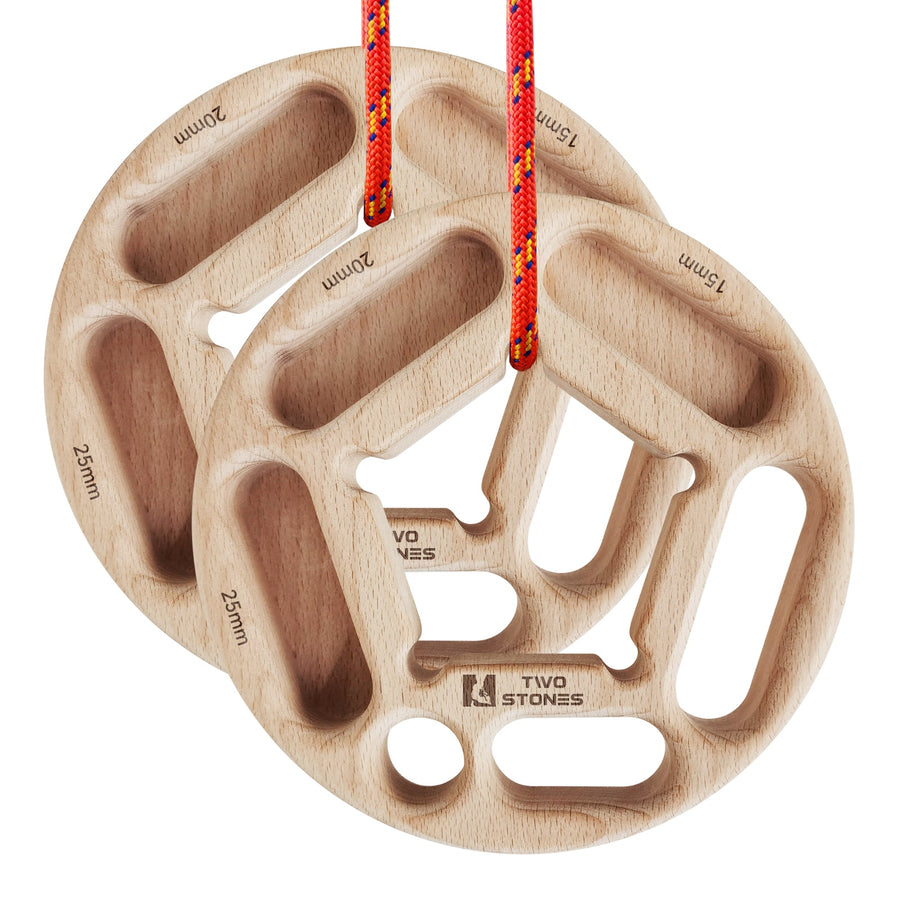
TWO STONES Portable Hangboard | Rock Climbing Training Board with Pockets | Fitness Rings for Rock Climers
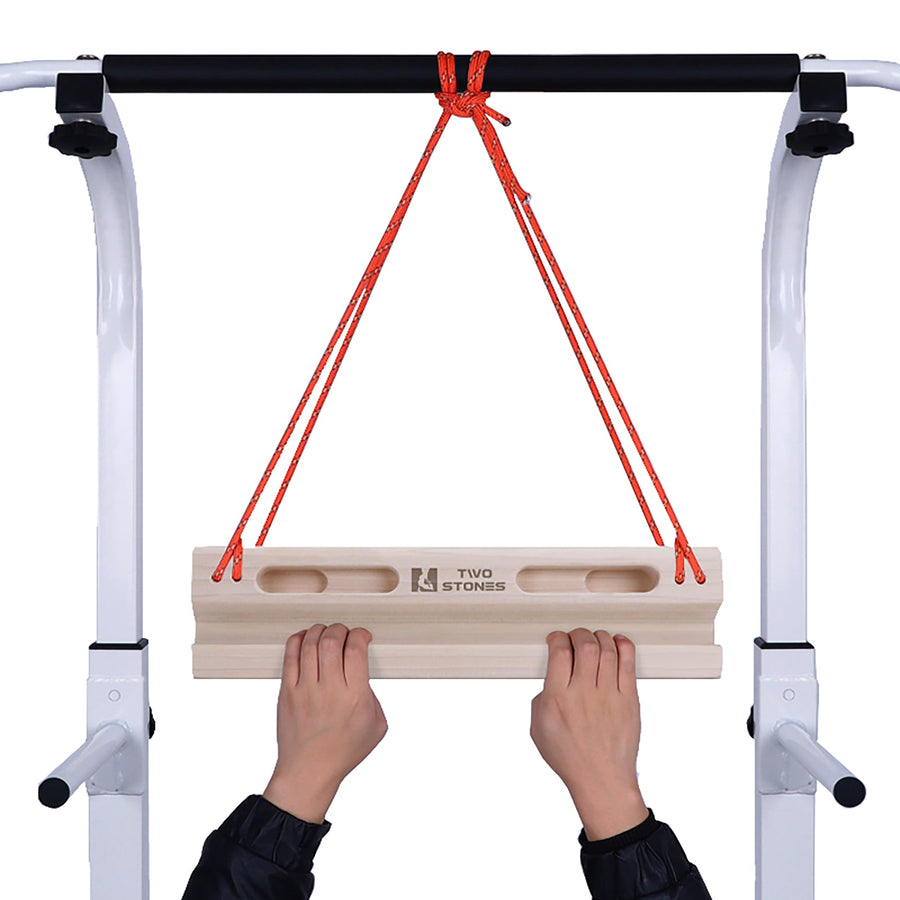
Portable Fingerboard as Rock Climbing Training Boards with Edges and Pockets
3. Add the essentials
Keep your chalk and small gear where you can reach them.
A practical chalk bag completes a compact setup by keeping chalk accessible and small session essentials organized.
- Two zippered pockets for tape, keys, and compact essentials
- Quick-access chalk format for gym and outdoor days
- An easy add-on for a cleaner climbing routine
4. Keep it repeatable
A simple routine beats a perfect plan you never start.
Set up the gear once, choose a controlled starting grip, and leave enough room for recovery between efforts.
01
Keep it visible
Store the portable board and chalk bag together so a short session is easy to begin.
02
Start controlled
Use comfortable holds first and let position quality guide your progression.
03
Repeat next week
The goal is a setup that supports consistent practice, not a one-time maximum effort.
Ready for the next session
Build a training setup that follows you.
Shop compact wood training tools made for stronger fingers, better control, and more frequent sessions.